Using the Monochrome Picture Style to Directly Shoot in Black and White
Monochrome Filter
The monochrome filter basically refers to shooting your images in black and white directly from the camera.
Though every shot can be turned into a black and white shot while editing, sometimes it’s fun to shoot a shot directly as black and white.
Here’s how you can activate the monochrome filter:
Watch the video below to see what to do. Alternatively, you can read the description too.
Video 17: Selecting the Monochrome Mode
Nikon users, click here to watch the video
Canon users, click here to watch the video
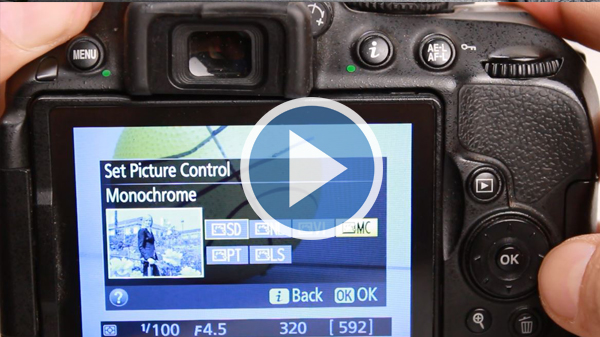
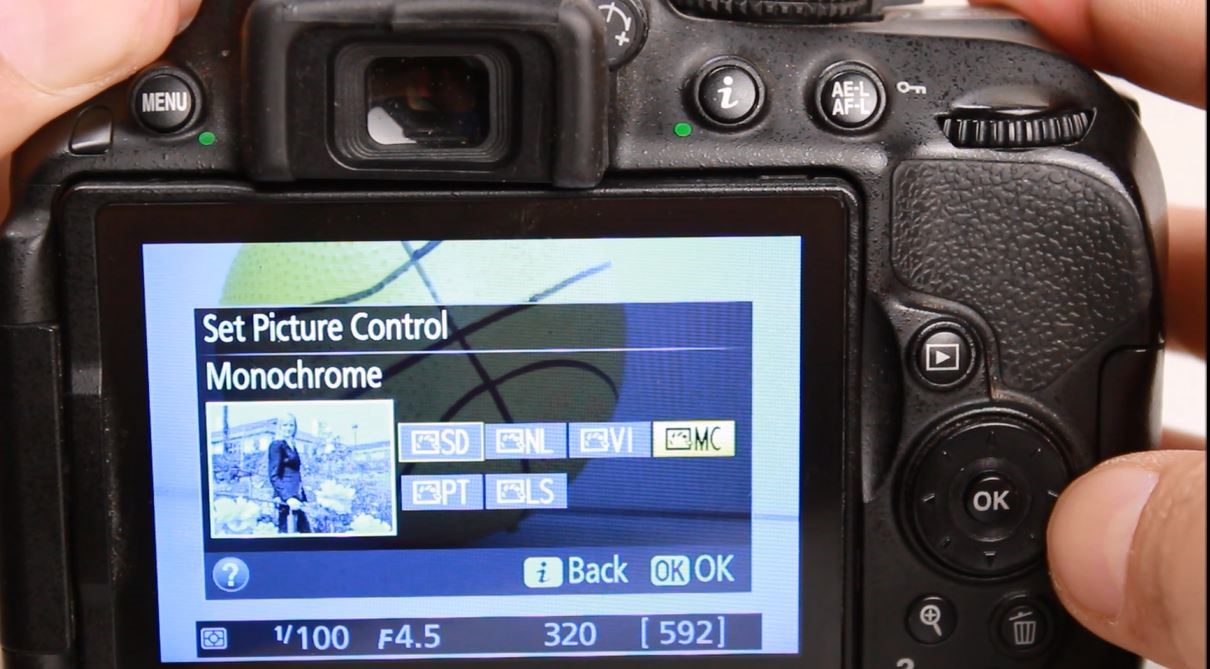
For Nikon camera, press the ‘i’ button to access the menu and then select ‘Set Picture Control’ and then select ‘Monochrome’, as shown in the image below:
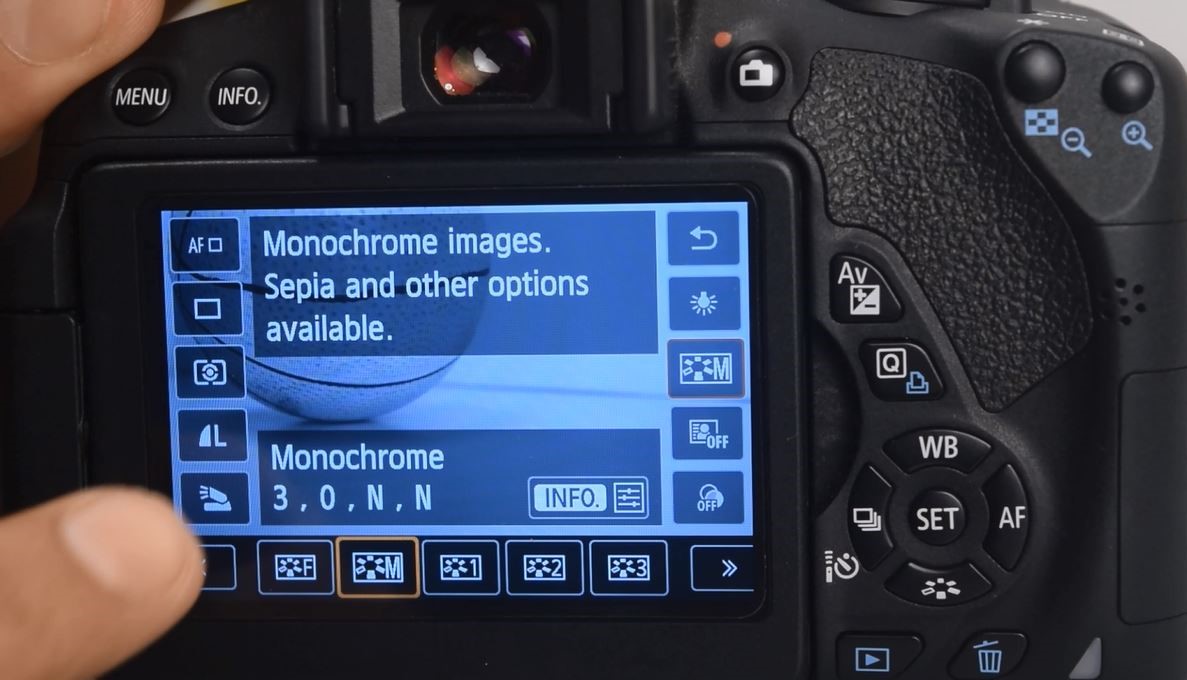
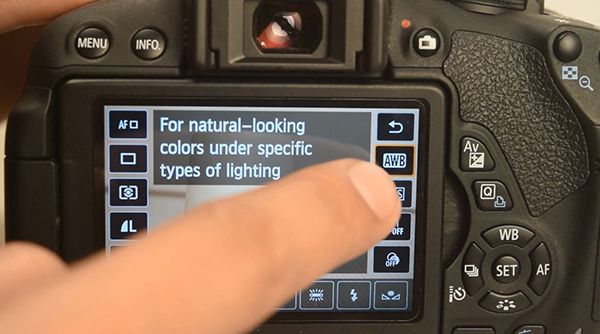
For Canon cameras, press the ‘Q’ button to access the menu and then select ‘Picture Style’ and then select ‘Monochrome’, as shown in the image below:
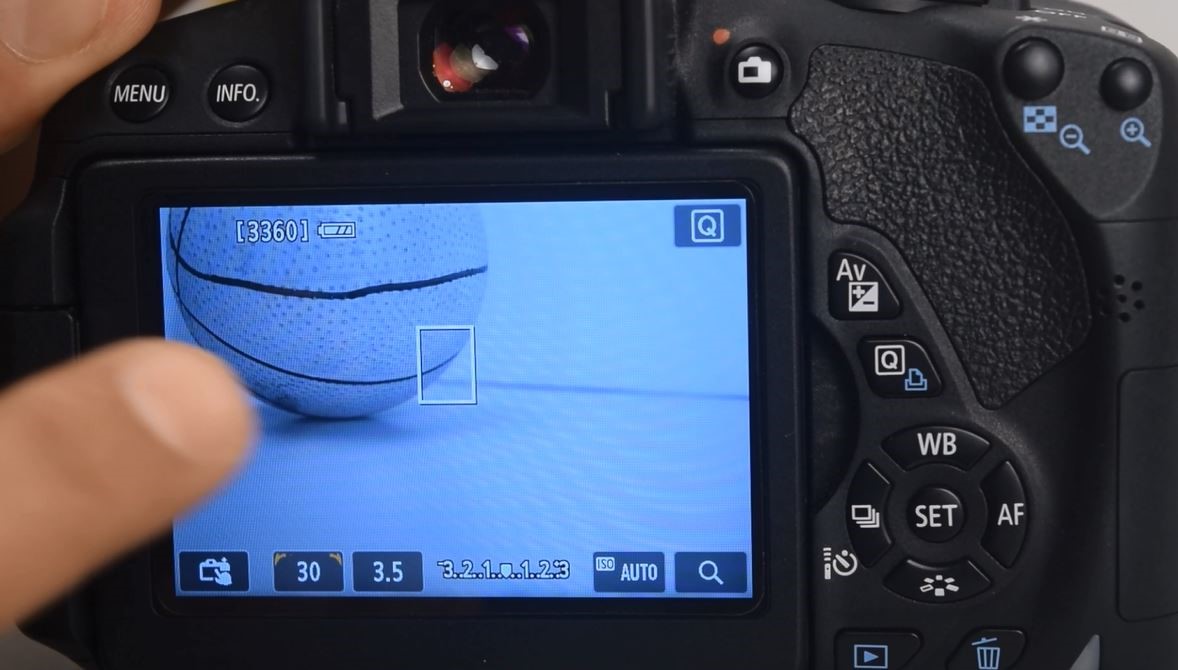
Selecting the monochrome option would enable shooting in black and white as seen in the shot below:
You can see that the yellow ball is being seen in black and white now.
Remember that you can always change a coloured shot to black and white in editing. But you cannot convert a black and white shot to a coloured one.
So if you have any doubts about the shot you are taking, it’s advisable to either shoot in color or change the format of image to RAW + JPEG. Shooting in RAW, even in monochrome mode, will mean that the original image with the colors will be preserved as a RAW file which can always serve as a backup if you feel the need to get the color version.


