How to Light Paint Using a Slow Shutter Speed
What is Light Painting in Photography?
Light painting is a photographic technique where images are created by capturing the movement of light sources in a dark environment using a slow shutter speed.
This method, also known as long exposure photography, allows the camera’s sensor to collect light over an extended period, often several seconds to minutes.
By moving a light source, such as a flashlight, glow stick, or LED, in front of the camera during the exposure, intricate patterns, shapes, or even text can be “painted” into the image. The result is a visually striking photo that captures light trails and illuminations that aren’t visible to the naked eye.
Here’s an example of one of my light painting shots, where I used a 10 seconds long shutter speed and the used a flash light to create movements around a card, to give the illusion of magic. The sensor was able to capture the this entire movement, like seen below:
By the way, you must be wondering how I kept my hand still for 10 seconds. Truth is I did not. The hand was added in Photoshop later on :P.
Light painting is a lot of fun, but the above shot can be a bit difficult for beginners to execute. So let’s see some demos where we create some basic patterns, since our focus will mainly be on learning about the settings. We will be seeing how to do this on a DSLR camera as well as a phone.
I’ll show you video demonstrations first. But if you are someone who likes to read, then there is a written demo too below the videos. So let’s start.
Light Painting Using a DSLR or Mirrorless Camera (Video)
This video is from my Photography for Beginners Course.
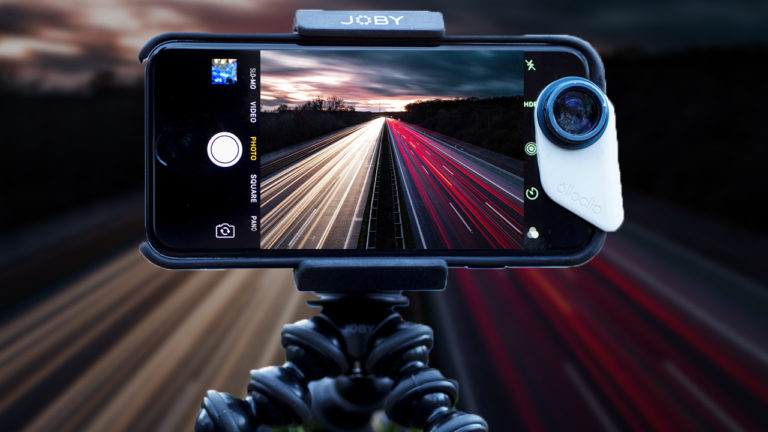
Light Painting Using a Smart Phone (Video)
This video is from my Mobile Photography Course:
I hope these two videos helped you out. If you prefer reading rather than watching, then check out the demonstration below:
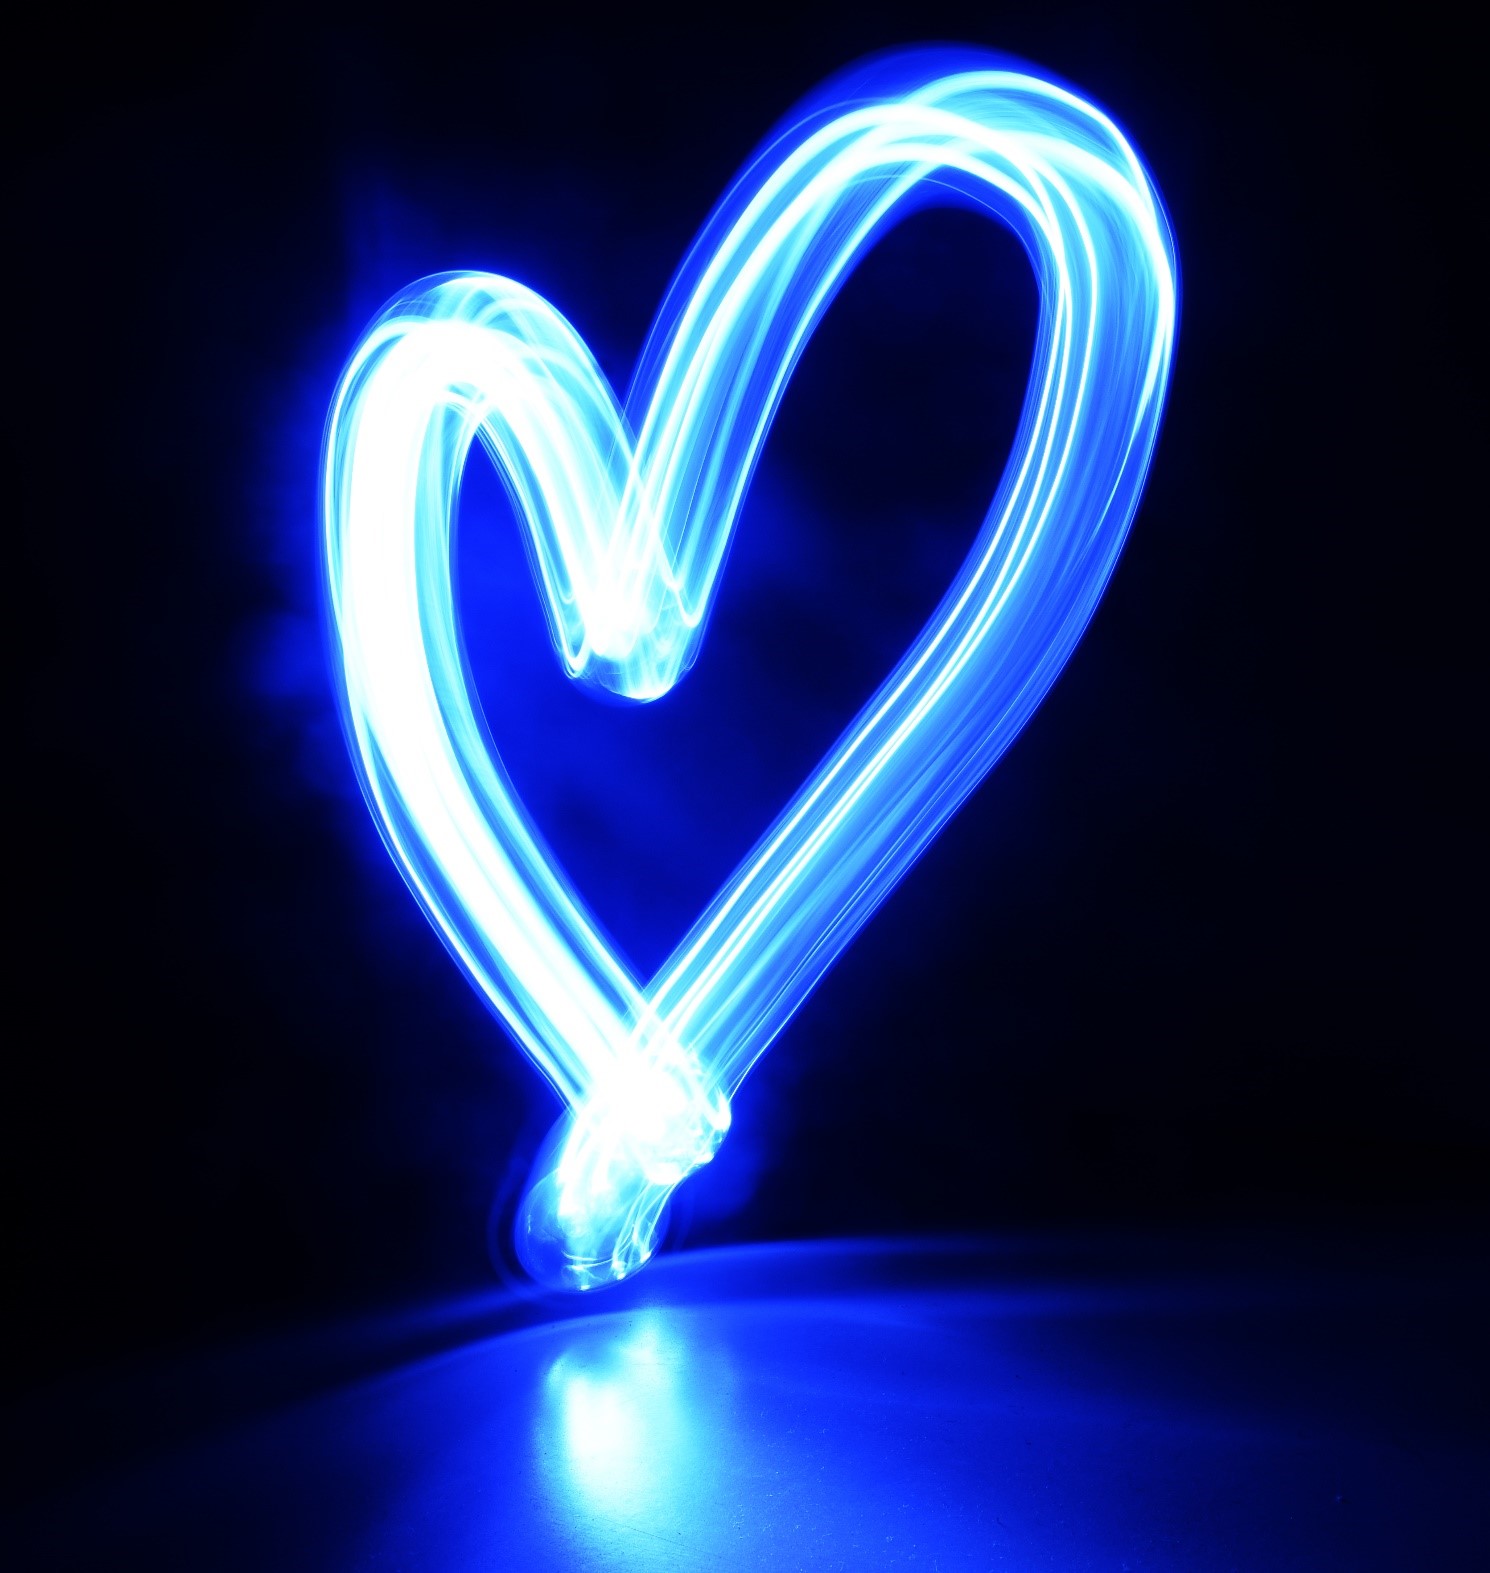
Creating a Heart Shaped Light Painting Effect
Here are the steps involved in taking such a shot:
- This exercise is best done at night time when switching off the lights will result in complete darkness. But for just about satisfactory results and understanding the concept, you can do it at any time.
- Use the following settings:
- F-stop number/Aperture: f22
- ISO:100
- Shutter speed: 5 seconds
- You actually don’t need such a large f-stop number but here we are assuming that you are doing this in a room that is not completely dark. So the high f-stop number will help you cut down light and underexpose the shot which is important since you want the shape made by the light to stand out. If you are doing this in complete darkness, you can use a smaller f-stop number also. Another advantage of using a larger f-stop number is that the deeper depth of field makes sure the light shape stays in focus irrespective of your movement while drawing the shape.
- Place your camera on a table or a tripod .
- Next, get a flash light.
- The next thing to do is to get an accurate focus on the flashlight. Place the flash light in front of your camera and then make sure the focus point is right on the light as shown in the image below:
- Then half press the shutter button to lock the focus on the light. If you are doing this in a completely dark room, make sure the focus point is right on the light otherwise the lens will have a hard time locking the focus since everything is dark.
- Once the focus is locked, take the shot and move the light around to get your desired shape. For example, in this case, you’ll have 5 seconds to draw the shape of the heart.
Conclusion – Examples of Amazing Light Painting Images
That’s about it. If you want to get good with such creative stuff, then you need to master the manual mode settings first. This is where our Photography for Beginners Course will really help you, since it will make sure you have the fundamentals of each setting nailed down.
Also, if you like the concept of light painting, then do check out this article, which covers some other forms of long exposure photography.
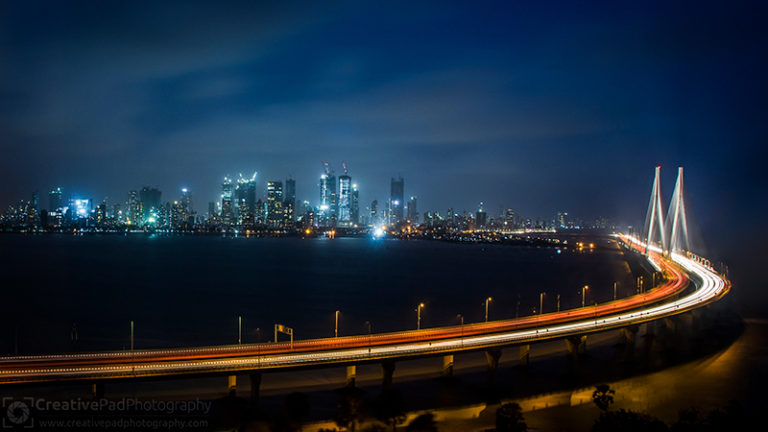
Before I end this article, I want to show you some amazing light painting shots (not mine). I hope they inspire you:


