How to Shoot Creative Miniature Portraits (Editing Video Included)- By Sadiq Dastagir
This article is written by Sadiq Dastagir, a film-maker and photographer from Pune, India. You can find the link to his website at the bottom of this article.
Creative portraits are one of the most challenging aspects of photography. It’s an artistic form of showing the world what you think and your image speaks about your thought process.
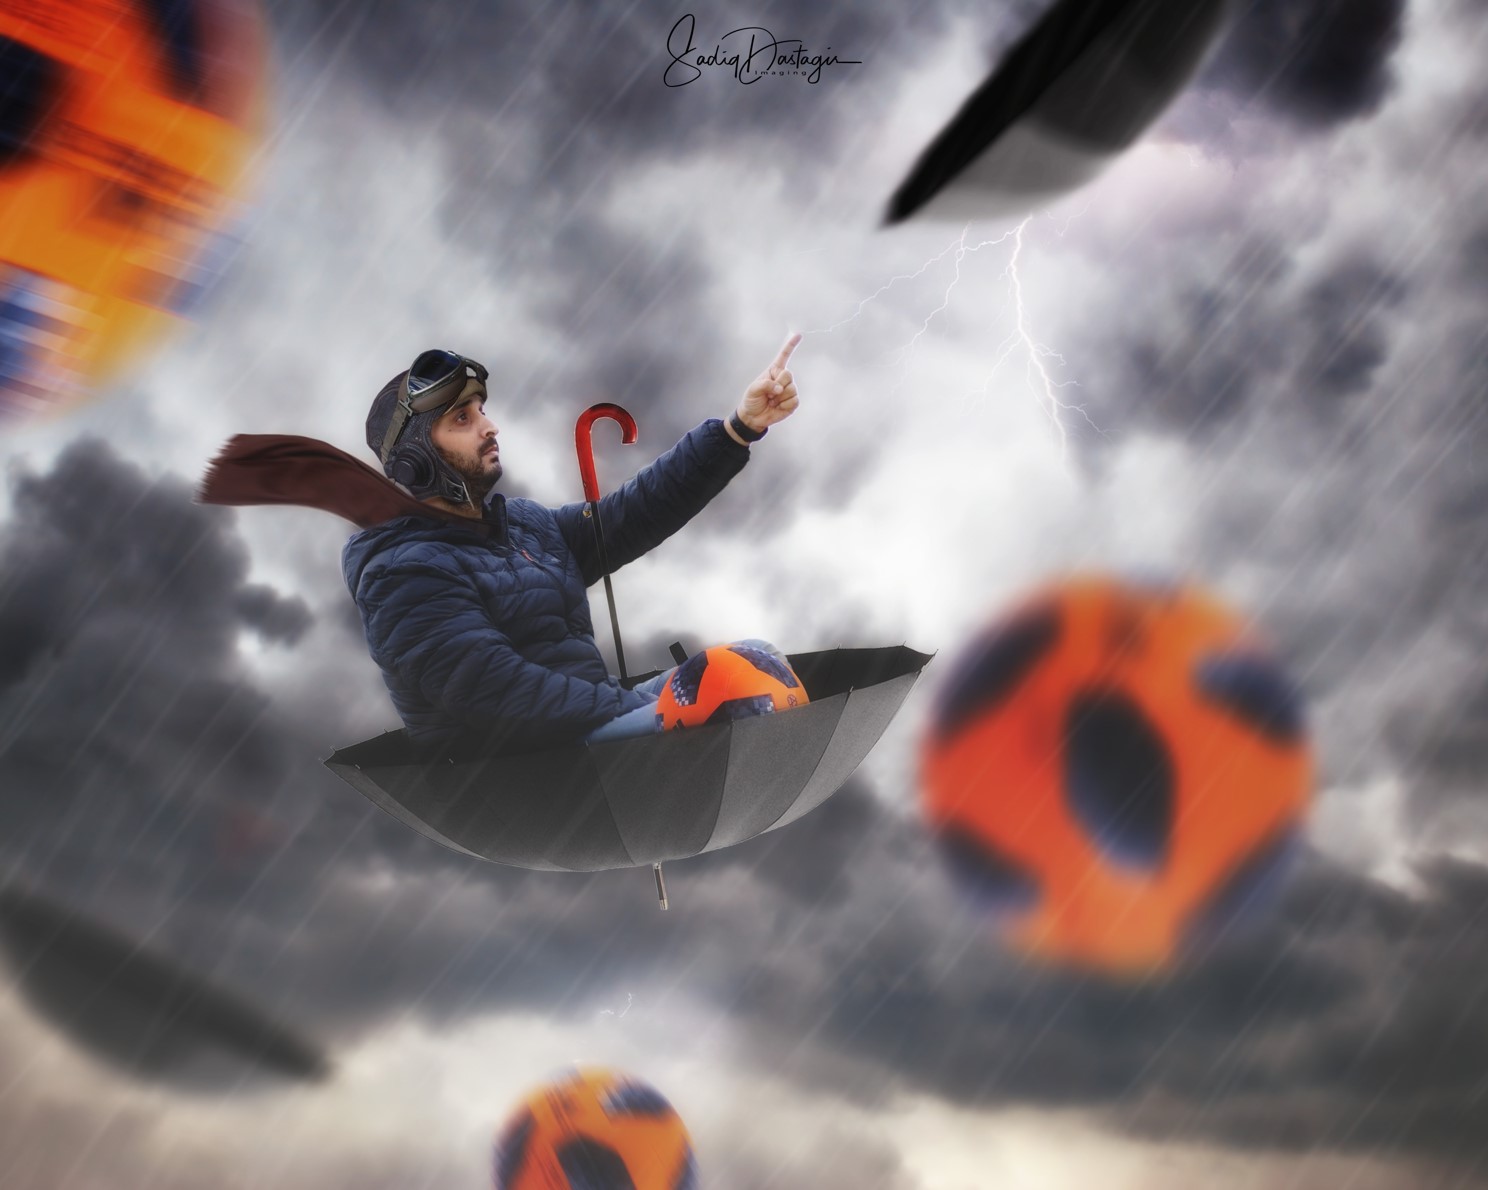
Turbulent Traveler:
The image above shows the subject flying in an umbrella with a football fan inside it. Its rainy, stormy and cloudy along with lightning. This was image was produced to create an impact on how imagination can play an important role and to execute the imagination into an image is quite an effort.
When you see such an image you should ideally inspect each element in it to see why they have been placed in such a manner, what is the significance of each element in the image.
How this image was made?
Since it was the FIFA World Cup season these last few months, I thought what would I do if I wanted to go for the final match but the air tickets weren’t available? That’ how this image came to my mind, lol 😉
Lets See how we made this; I needed the following:
- Umbrella
- Football
- Pilot helmet/glasses
- Turbulent sky
- Warm clothes
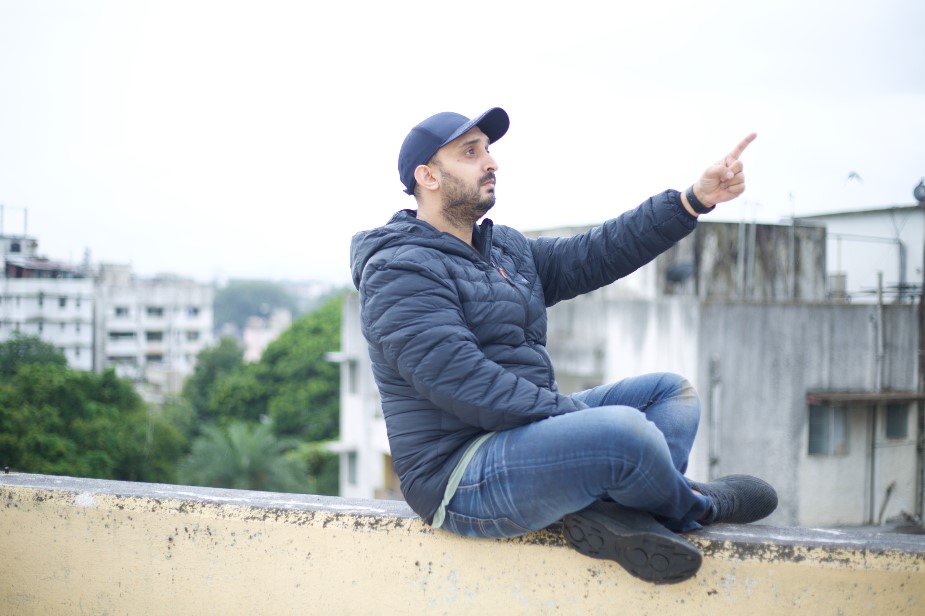
No ways I would have access to the helmet of a pilot, what I did was I sourced all possible images from the Internet, minus mine.
The images are as below:
As a practice 99% of time I shoot my elements myself, but for this image I couldn’t get the time and wanted to create it with limited resources.
What’s the effort behind these images?
There are 3 very important factors you need to keep in mind when you are making such images:
- Lighting
- Depth of field
- Angle
- Lighting – It’s very important that almost all of your elements are shot in the same light so that later on you do not have issue in color correcting them in your post processing. Even though the tools in Adobe Photoshop are really powerful for color correction , I always try to get the lights and shadows of all elements correct as I shoot.
- DOF (Depth of field) – You have to be damn sure what area of focus you want your subject to be in, if you miss your focus you have to redo all the work again which can be really painful.
- Angle – This is really crucial again, if you shoot a miniature and place an object in a certain focus area and angle and you shift your camera even little bit you have lost the angle and focus both which will again be a rework.
Lets see another shot:
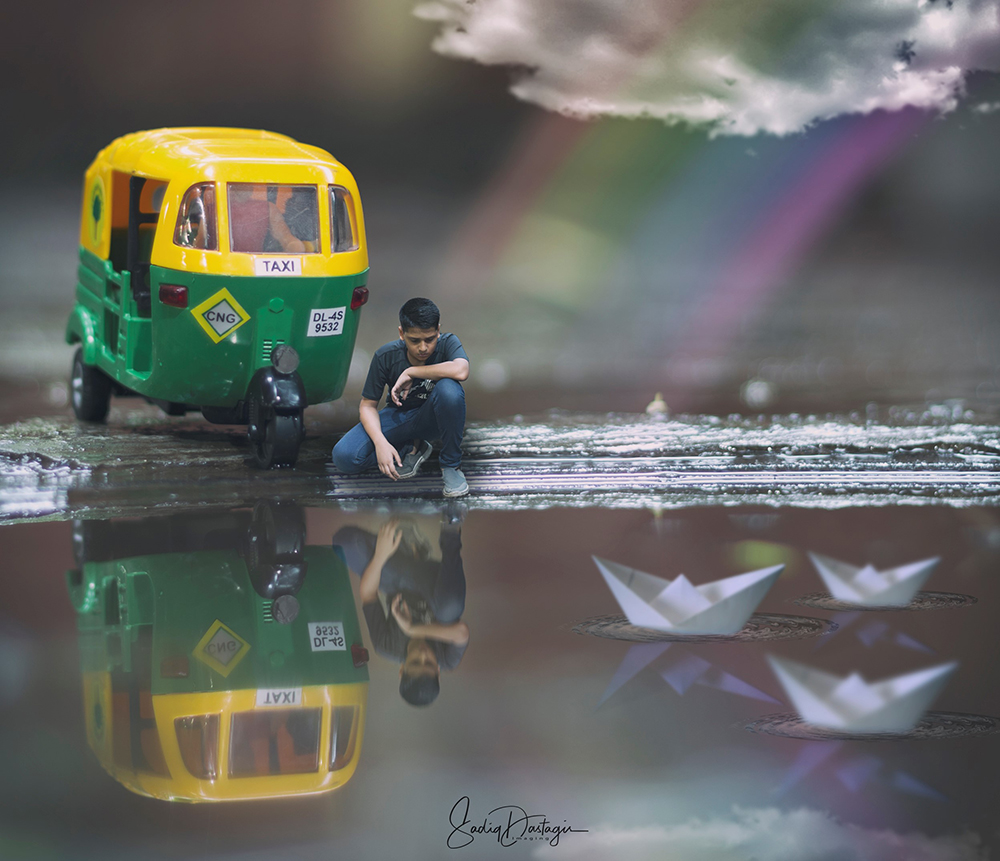
Here are the shots that I took to form this image:
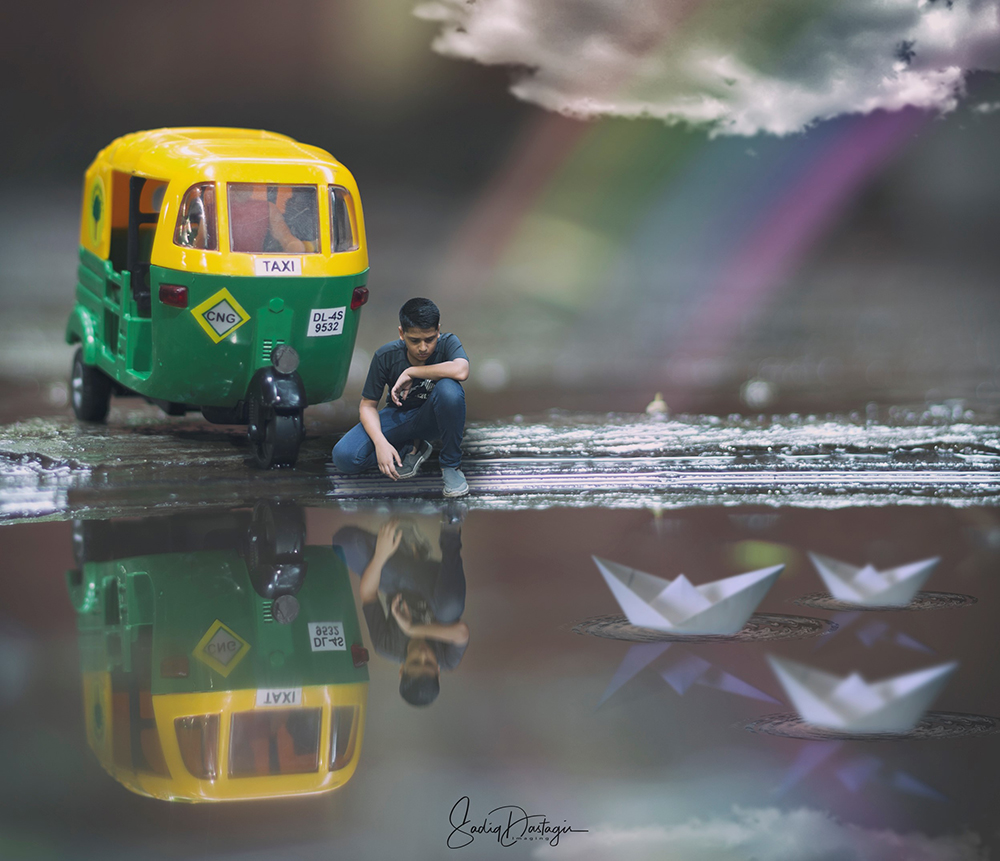
Image 01 – Shot this image by keeping the camera on a flat stone since I wanted to attain ground level and also it worked as a tripod. I used 50 mm 1.8 lens and kept the aperture to 1.8 for a shallow depth of field so that I can isolate the object and make it stand out. I also wanted no noise in my image and kept the ISO to 50 and reduced the shutter speed to 0.6 secs.
Image 02 – Shot the boys image with f 1.8 50 mm to get shallow depth of field, more important was the light and angle to be spot on.
I used the auto rickshaw (Image 01) as my reference point for area of focus and then shot the boy at the similar angle and same light.
See the final image below:
Lets quickly see other images below for better understanding:
I would say it’s a 35-65 ratio, 35% of photography and 65% of editing skills to create such an image.
So let’s take a look at the video on how to edit such an image:
So I hope this tutorial helps you in coming up with your own creative miniatures. If you liked this article, do follow me using the links below:
Instagram – sadiqslens
Website – www.sadiqsimagings.com






Excellent ideas… and a good capture. Can you suggest online miniature photography classes…..