How to Shoot Light Trails Using a Camera or a Phone
Capturing light trails is a form of photography that fascinates almost every photographer at some point of time.
When done rightly, the streaks of lights produced by the headlights and taillights of vehicles in motion can really give a very desirable illusion of motion.
So let’s see how to do this amazing type of long exposure photography. First, I’ll be showing you how to capture light trails using a DSLR or a Mirrorless camera. Then I’ll also be showing you how to do the same thing using a mobile or a smartphone camera.
Finally, I will be showing you some of my favorite light trails shots along with the settings I used for each shot.
So let’s get started:
Gear Needed
- Any camera that allows you to shoot in the manual mode (DSLR/Mirrorless/Phone)
- Tripod
- Shutter release remote or App so you can take the shot without touching the camera so as to avoid camera shake. You can also set a timer in case you don’t have a remote/app.
Capturing Light Trails Using a DSLR or Mirrorless Camera
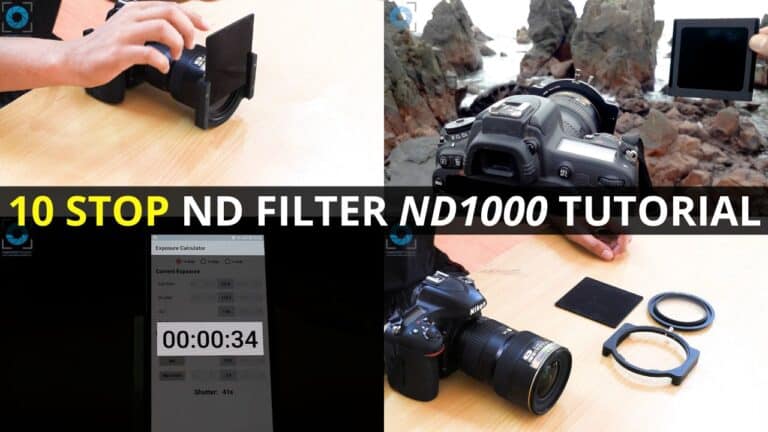
Watch the video below which shows how to capture light trails using a proper camera like a DSLR or a Mirrorless camera. This video is from my Photography for Beginners course:
Capturing Light Trails Using a Phone Camera (Android or iPhone)
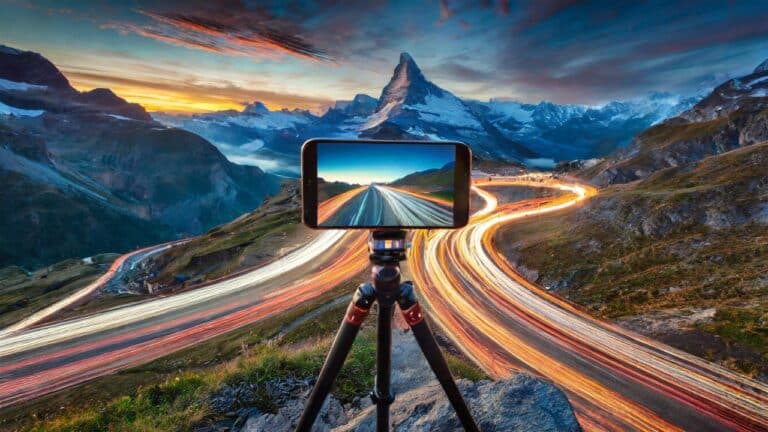
Watch the video below which shows how to capture light trails using a smartphone. This video is from my Mobile Photography Course:
So I hope these videos helped you in understanding the methodology used in capturing light trails. Now let’s see some of my favorite shots that I have taken in all these years of doing photography:
Examples of Light Trails Photography (My own shots)

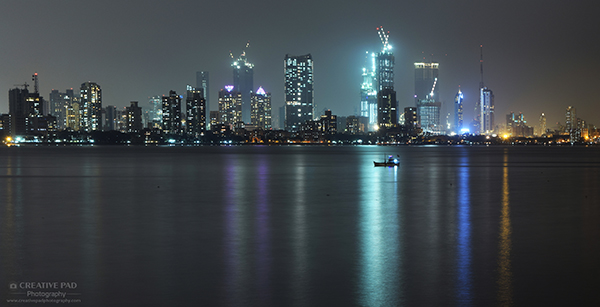
Undoubtedly, my favorite light trails shots that I have ever taken. Simply because to shoot the Sealink Bridge in Mumbai, India, is not an easy task, because it is almost impossible to get a good vantage point. Read this short article, where I talk about the crazy thing I had to do just to get this shot. EXIF – f22, 30 seconds, ISO 100.
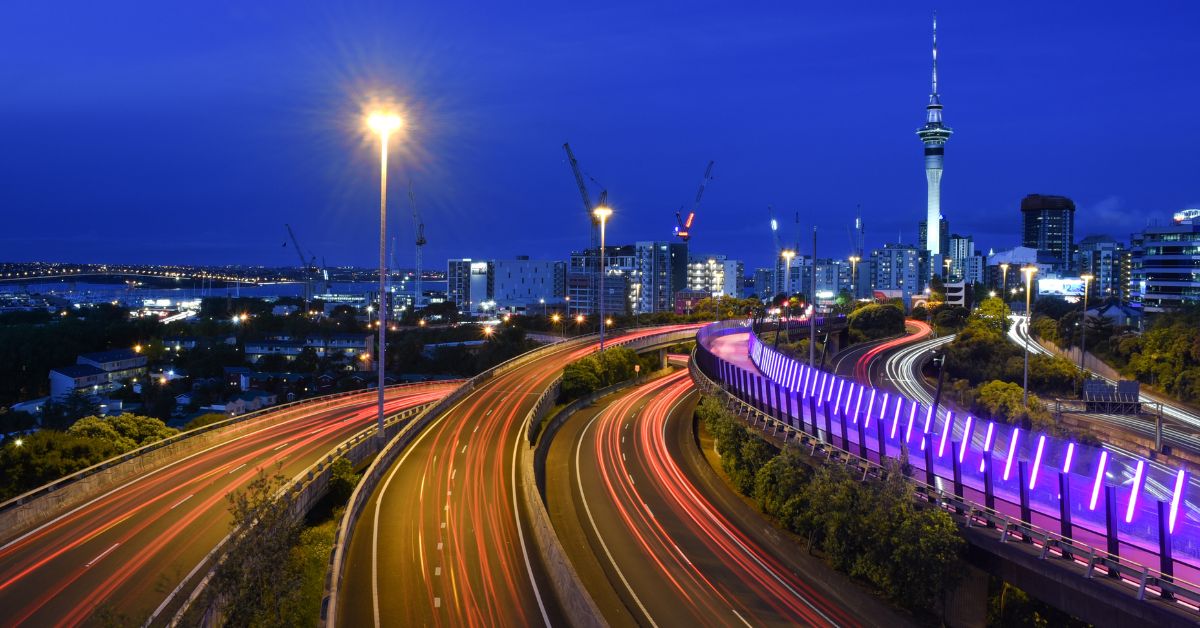
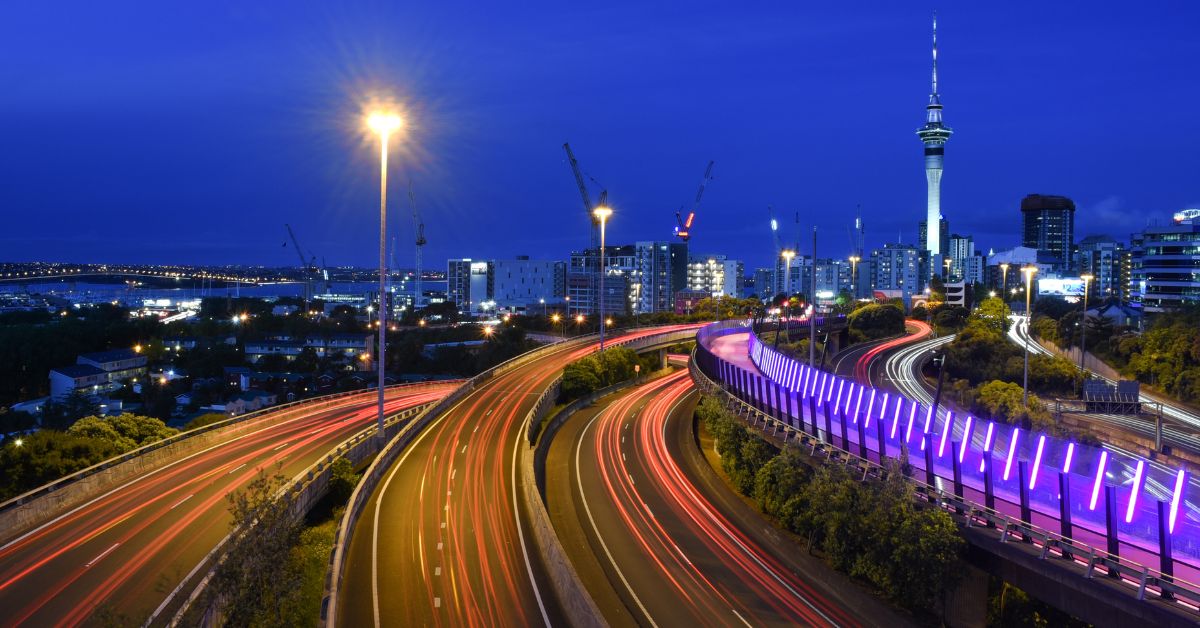
This is also one of my all time favorites. It was taken in Auckland, New Zealand. My only regret is that I did not have a good quality lens on me for this trip. So I have taken this with a kit lens. EXIF – f22, 30 seconds, ISO 100.

Another one from my Auckland trip. It is actually the imposing and beautiful Sky Tower that makes this shot. I had to be very careful while taking this shot as I was standing on a small pavement bang in the middle of an intersection. Luckily, the traffic wasn’t bad at that time. I did get some funny looks though. EXIF – f16, 15 seconds, ISO 100.

This was taken in Singapore. Here I wanted to go for a slightly different look. Instead of the usual long streaks, I wanted the motion blur on the cars to be visible, because I wanted to emphasize how fast these cars were going. So I deliberately used a faster shutter speed of 1/3rd of a second. But this also meant that I had to compensate the loss of light coming into the camera because of a faster shutter speed, by increasing the ISO value, which lead to a bit of noise in the shot. But the sunburst effect on the lights above compensated for it adequately. EXIF – f11, 1/3 seconds, ISO 1600.
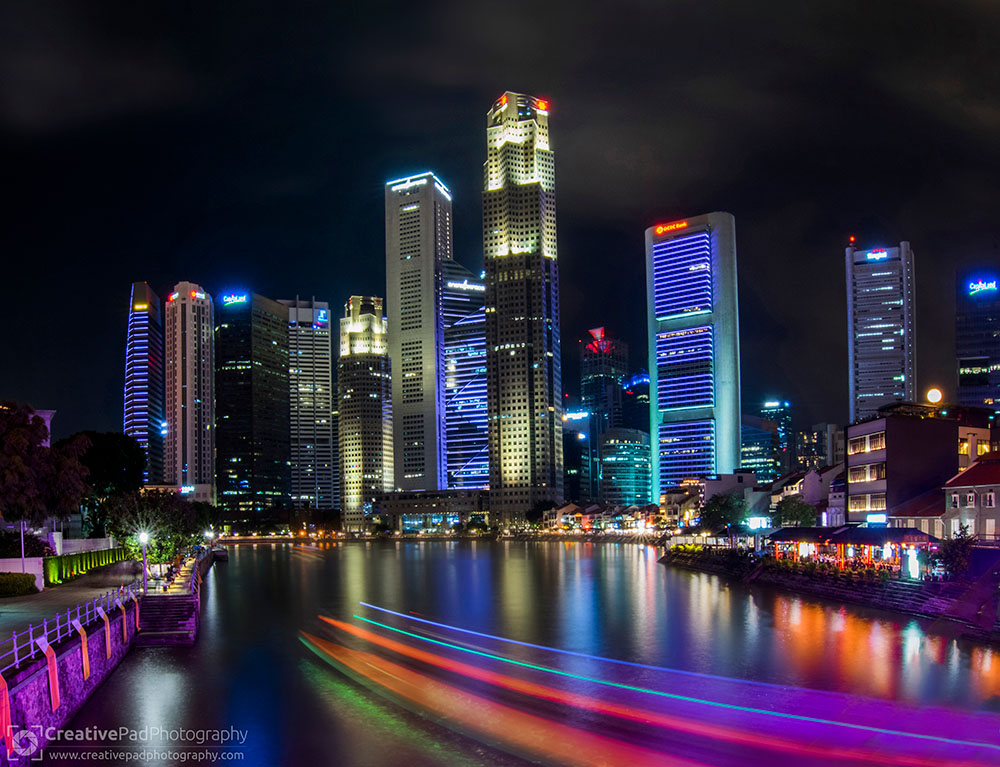
Another one from Singapore. This is in Boat Quay. This was the first time I captured trails of something that moves on water and I still remember the breathtaking feeling when this shot appeared on the screen. I was simply not expecting such a long trail. My only regret was that I was not present at this location during the blue hour. EXIF – f16, 25 seconds, ISO 320

This shot almost got me into a bit of trouble. The trails are from Bangkok’s very popular BTS Metro Skytrain . This was taken from one of the stations in Sukhumvit. I had no idea they did not allow the use of tripods. At first, one of the security personnel politely told me not to use the tripod. Of course, the moment he was away, I did use it again for this shot. His next warning wasn’t exactly an entirely friendly one though, so I had to be content with this one shot. EXIF – f16, 30 seconds, ISO 100.
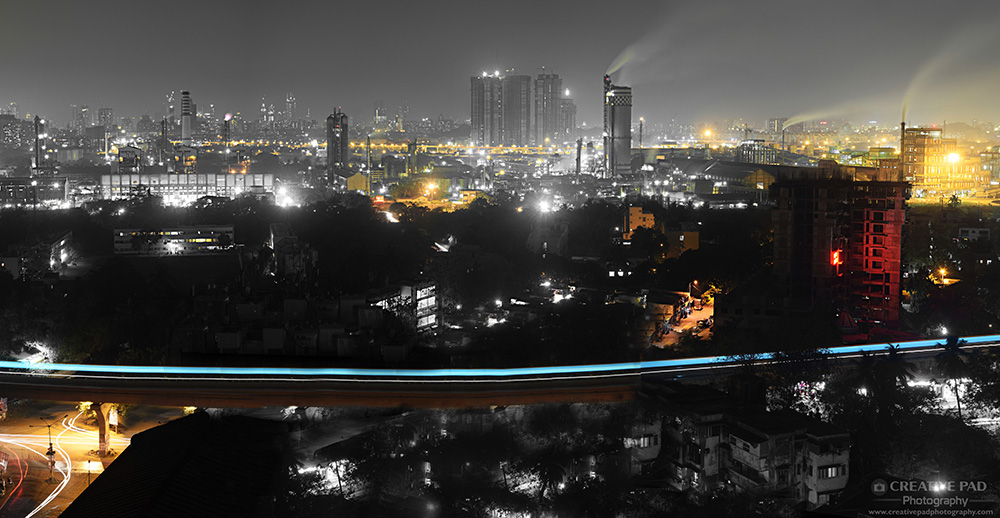
This is the very popular Mono-Rail, that runs in Mumbai, India. Again, this is one of those shots where the backdrop actually makes the shot. The smoke emitting from the industrial area around Chembur, is a reflection of the resilience and industry of the Mumbai locals. I only wanted to keep the yellows and blues in this shot to generate a nice contrast between the trail and the backdrop so I selectively de-saturated the other colors in Photoshop. EXIF – f22, 30 seconds, ISO 100.

For this shot, I wanted it to have a spooky feel so I tried out something new. This is a composite of two shots. I took the trails shot at 30 seconds shutter speed. Then I took another 30 seconds shots, in which I am standing on the pavement (using a remote). I quickly moved out of the frame around 10 to 15 seconds into the shot. This basically created in an exposure, where I came out to be translucent. One point to note is that this can actually be done in a single shot too, provided you get the timing right and do everything as the car goes past you. But it’s definitely easier to create this with two shots.

This is one of my most memorable shots simply because it was the first time I shot light trails. You just never forget that moment. This was taken on the Pune-Bangalore highway near the district of Lavale. Technically, not the best shot, since the highlights at the turn just overexposed that part to the point that I could not even recover the details when editing the RAW file. But I still love the minimal look to this shot.
So I hope this tutorial helped you in getting a good grasp on how to capture light trails. If you are a beginner who wants to get good with photography, then do check out our online courses, which are available via Udemy.

