Learning the Art of Creating Composites in Photoshop for Trick Shots
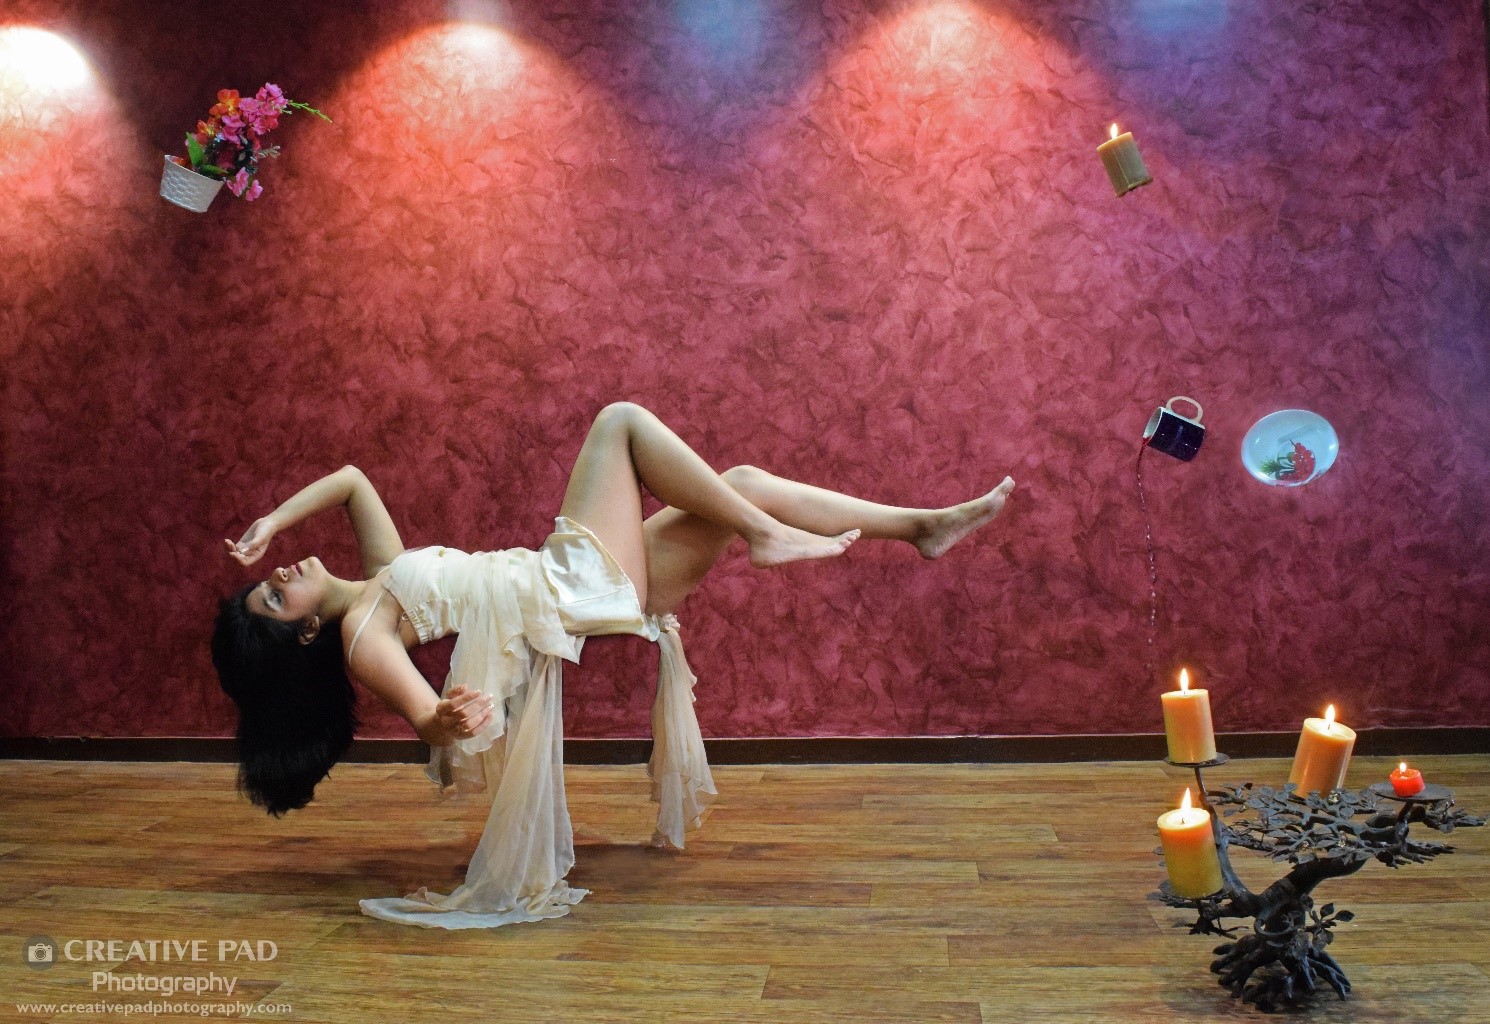
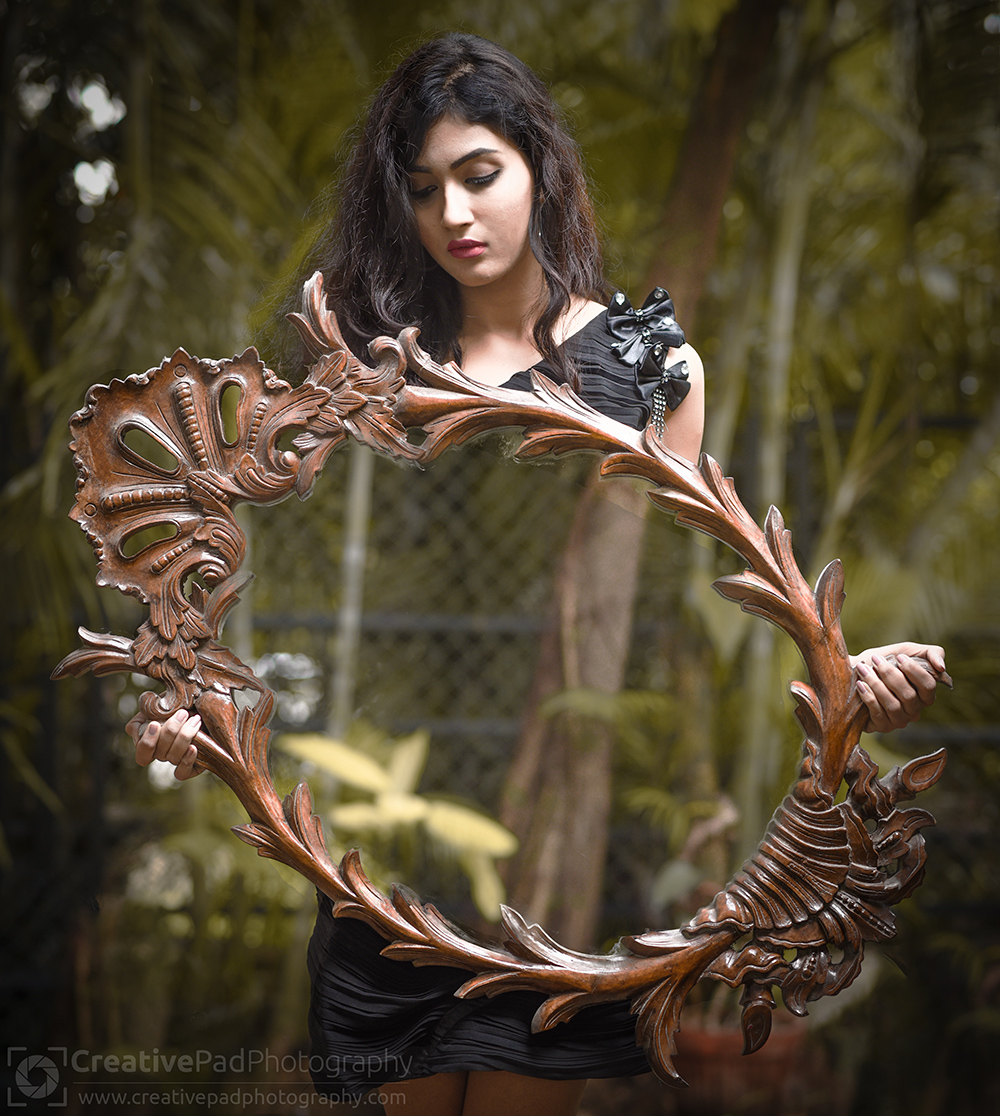
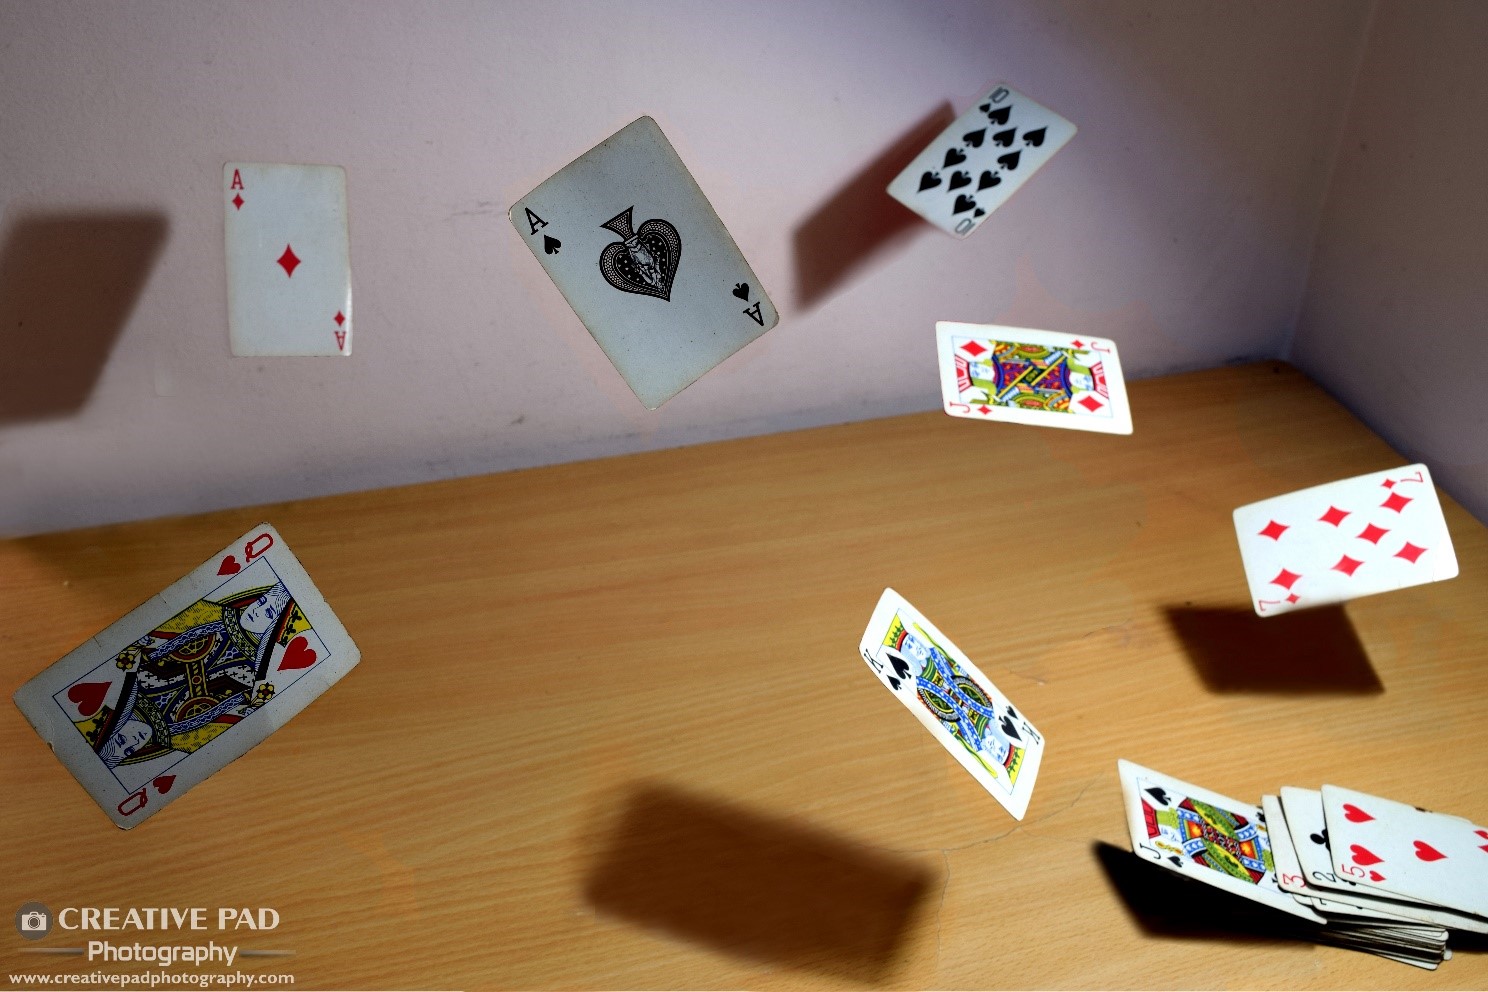
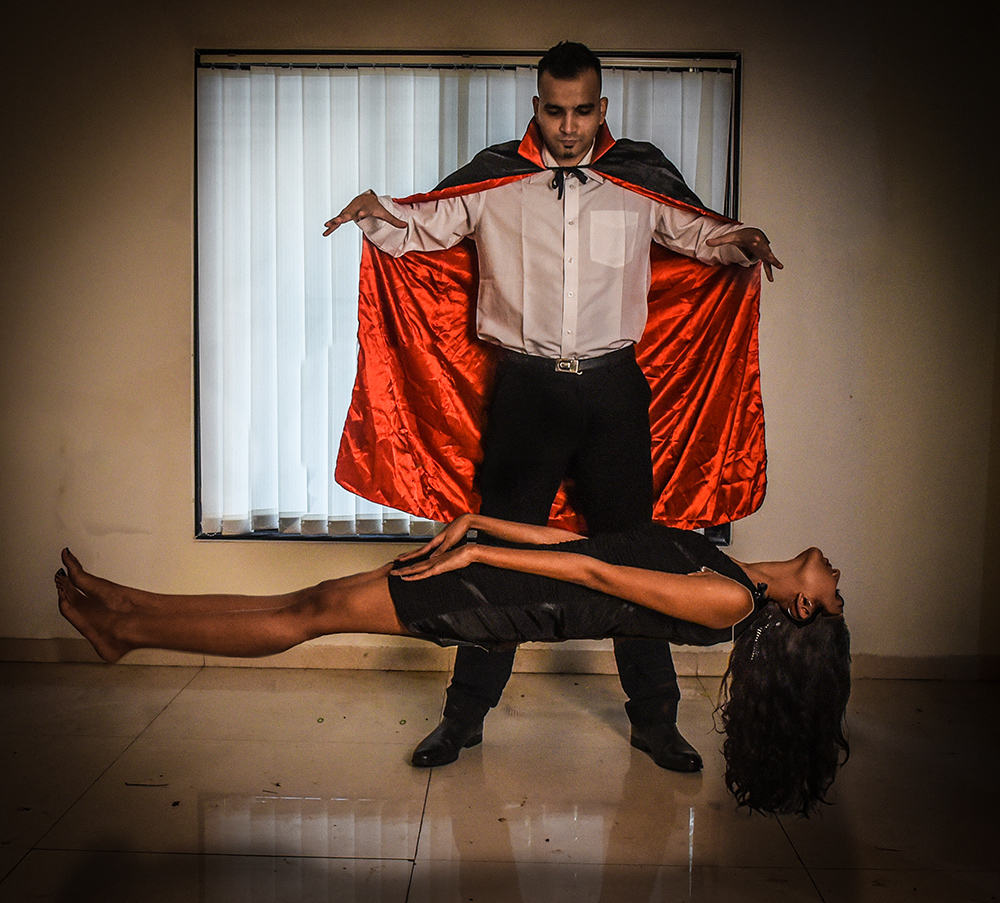
Trick photography refers to a kind of photography where certain techniques, either straight from the camera or while editing, are employed to give the illusion of something surreal.
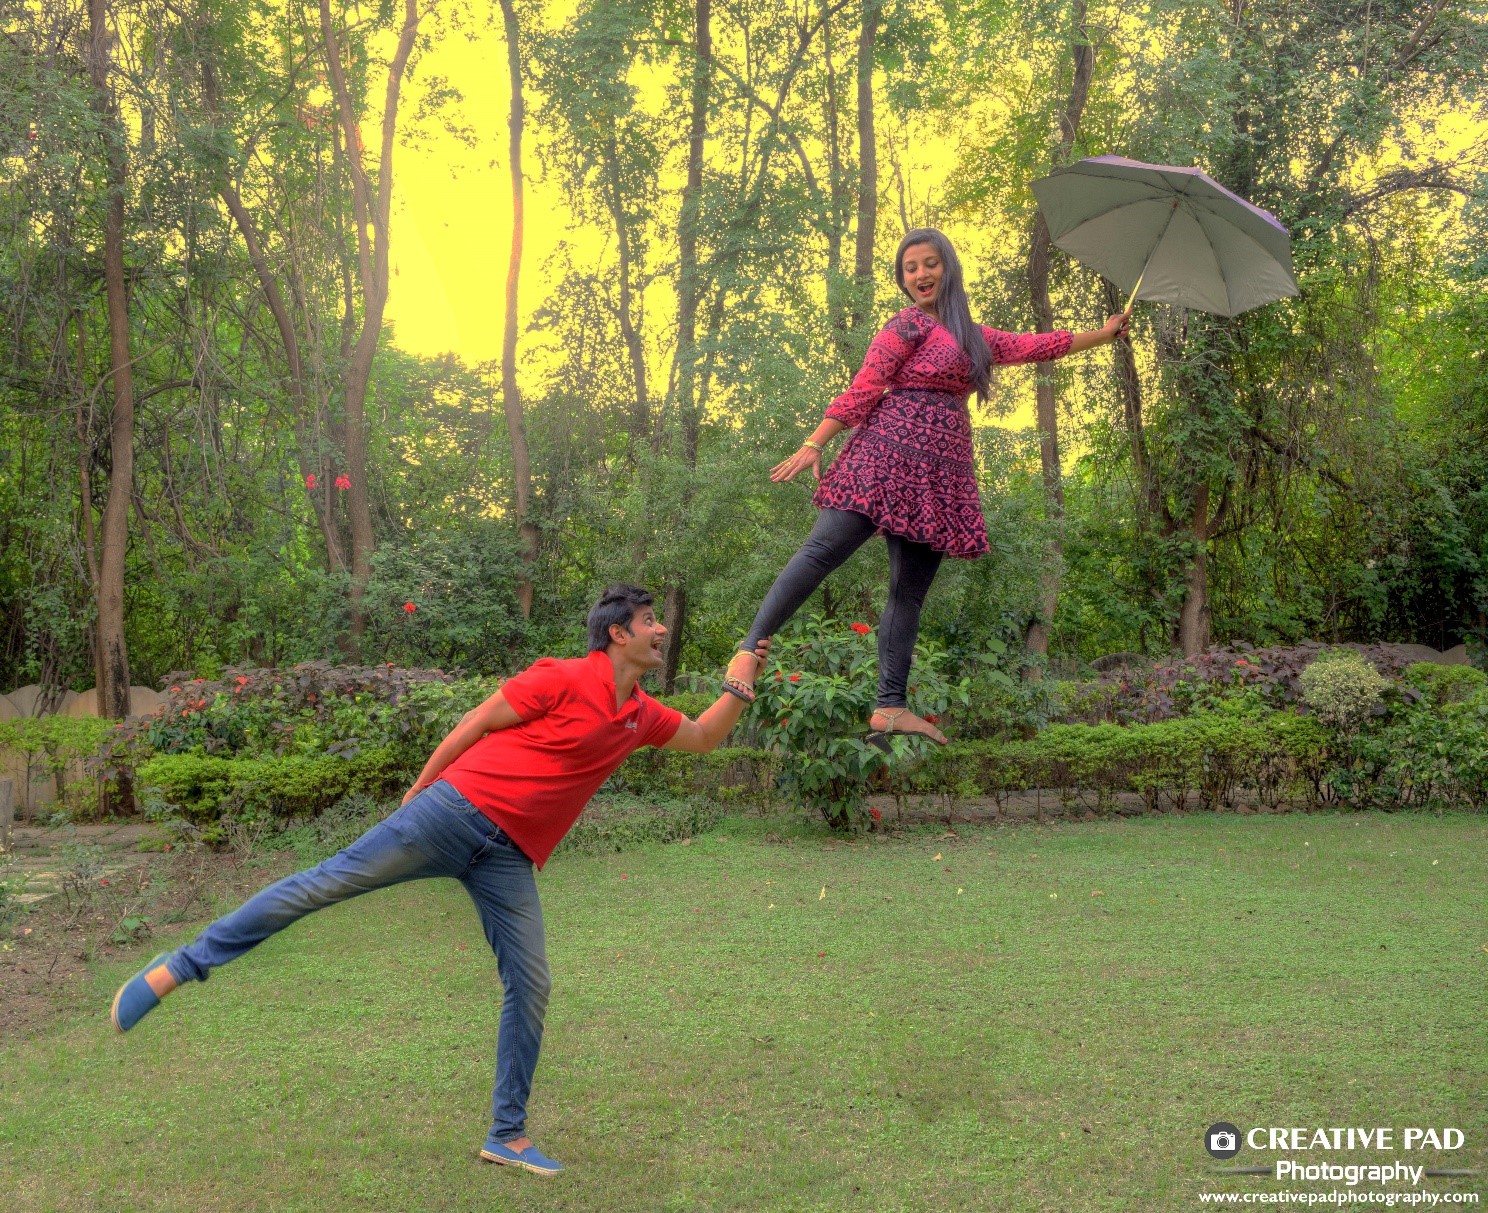
Below you can see a few examples of trick photography:
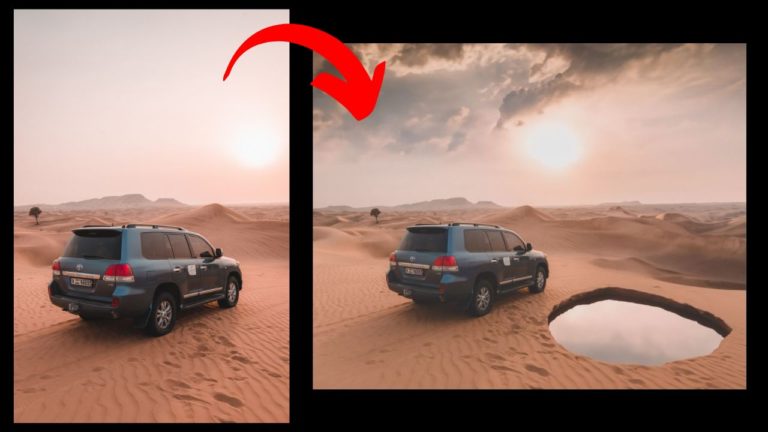
Of course, all these shots are edited.
But there is a certain way of going about it. So let’s see how it’s done.
Let’s see how to get a simple looking levitation shot like the one below:
The same principle can then be applied to the kind of shots that you saw above.
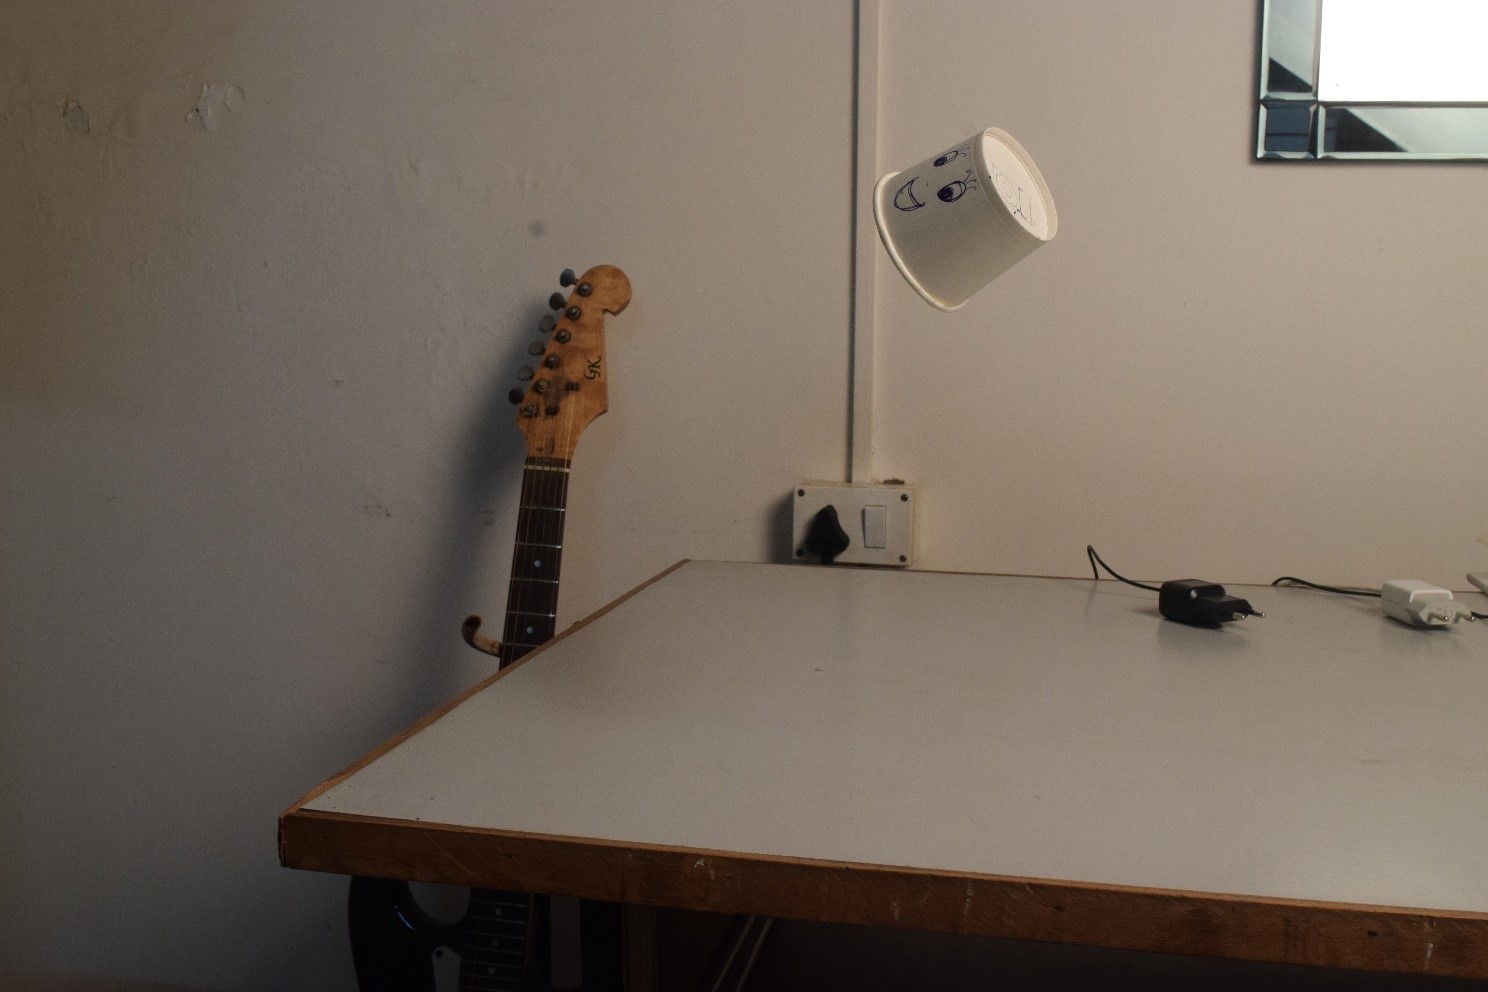
- The first thing you have to do is to take a shot with the set-up that you want, like shown in the shot below:
- Use a larger f-stop number like f11 and above so as to not blur the background.
- Then you have to take a second shot after removing all the objects, like the shot below:
Remember one very important thing. After you lock focus and are about to take the first shot, change the focus mode from Auto-focus to manual-focus before taking the shot. This is to ensure that the camera maintains the focus in the same area for the second shot as the first. This is important because both the shots have to look exactly the same, with the only difference being the removal of objects. If you focus again for the second shot, the focal plane of the shot will change as the camera will just focus on the background as the object on which we would have locked the focus for the first shot would have been removed.
Once you have both the shots, we have to take them into Photoshop and do the rest. Watch the video below to see how we can combine these two shots to turn it into the final one:
Video 21: Editing Levitation Photography Shots


